In Home Blood Testing
Last updated March 11, 2025
What to do when you receive your
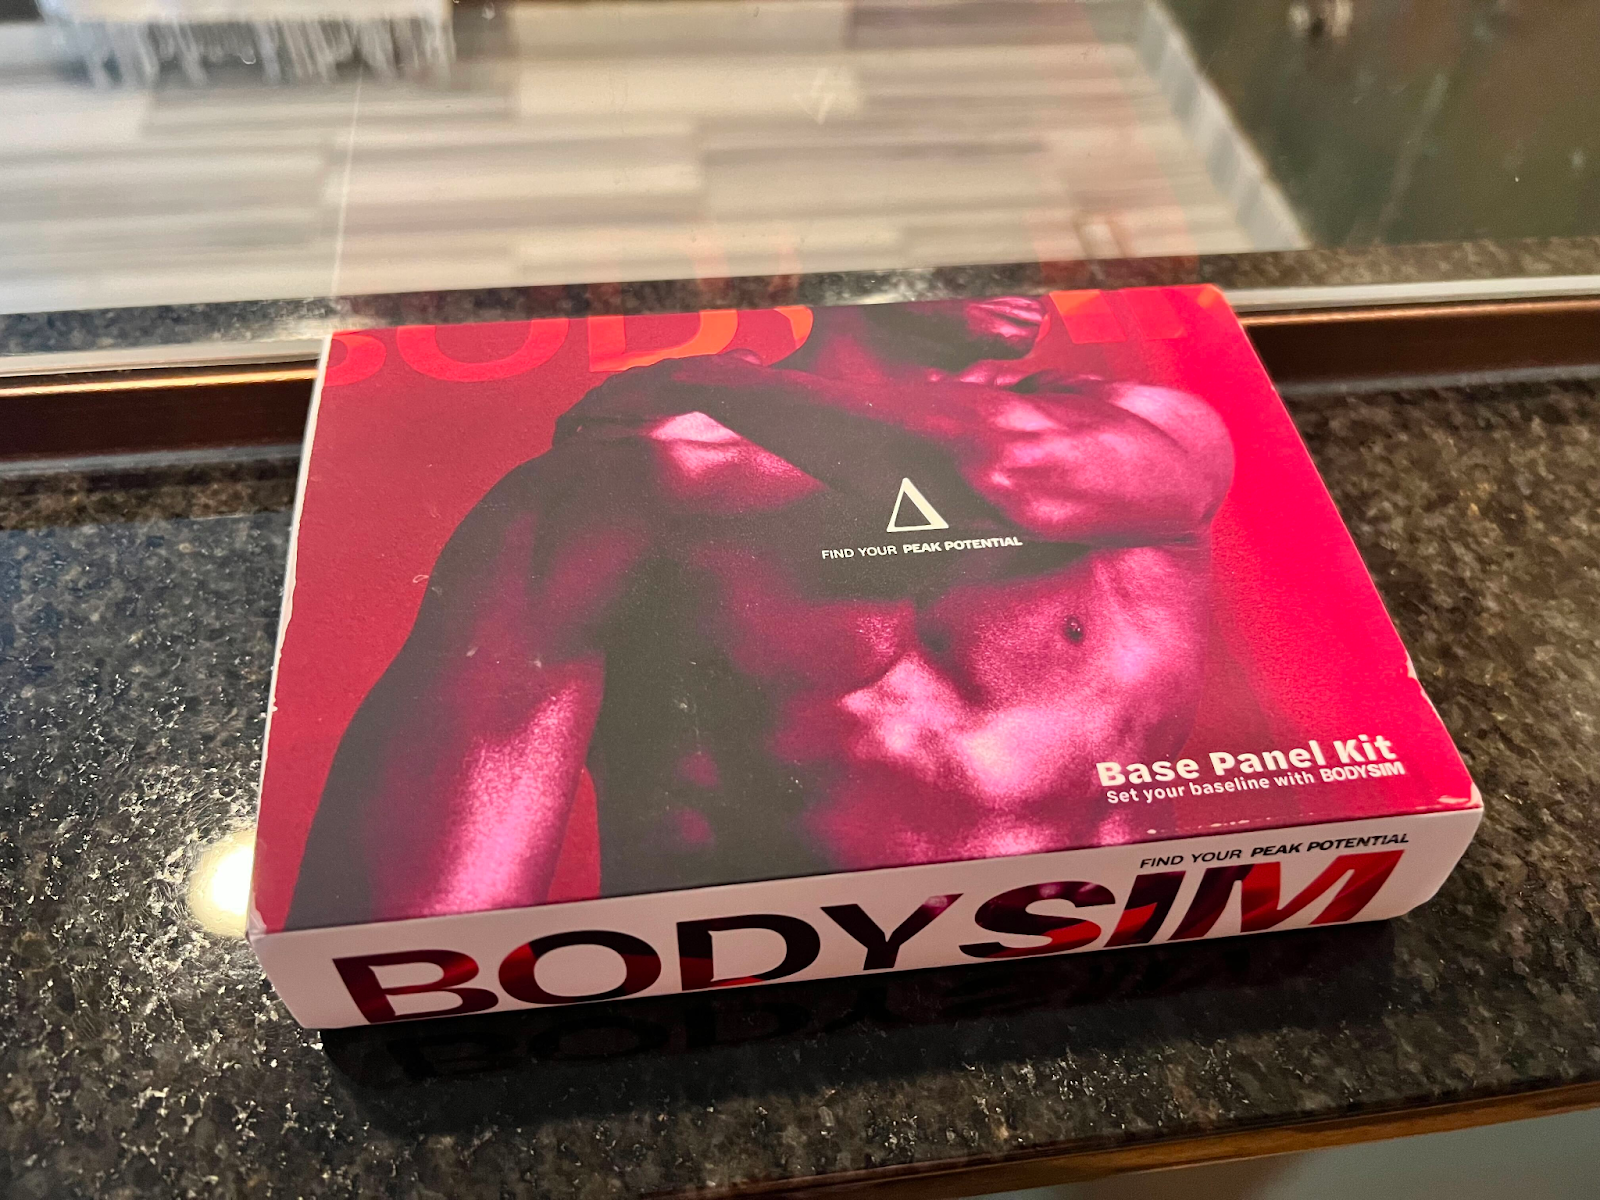
Blood Sample Kits
You will receive a kit every month as long you continue to submit them to the lab. You will want to execute the first one in the first 7-10 days of using the App. Wait a month between subsequent kits. The lab instructions come with the kit and they offer real-time assistance through the link they text you to opt into live video chat.
You should have a separate email from BODYSIM Lab with the tracking id.
The testing is simple but we’ve collected some tips and tricks to make it as easy as possible:
1. Plan Ahead
Sample soon after waking (or diurnal hormones will be off) after a glass of water but BEFORE EATING, DRINKING, or TAKING PILLS (glucose and insulin will be off) and BEFORE EXERCISING. Set your kit out the night before as a reminder, and along with a pen/sharpie (smear proof ink), with a fine to ultra-fine tip.
2. Hydrate
Drink a full glass of water when you wake up. Sampling is more difficult if you’re dehydrated.
3. Mise En Place
Set up your “testing station” like the cooking concept “mise en place”. Take the time to set up, write your name/dates on the card(s) without touching the testing strip … open the lancet, open the bandaid and remove one side, open the alcohol wipe, open the gauze pad…The first time is the most frustrating but with practice it’s under 5 mins

4. Scan to Register
Scan the barcode (use the camera app) and register on your phone. Use the same email that you used to install the BODYSIM app.
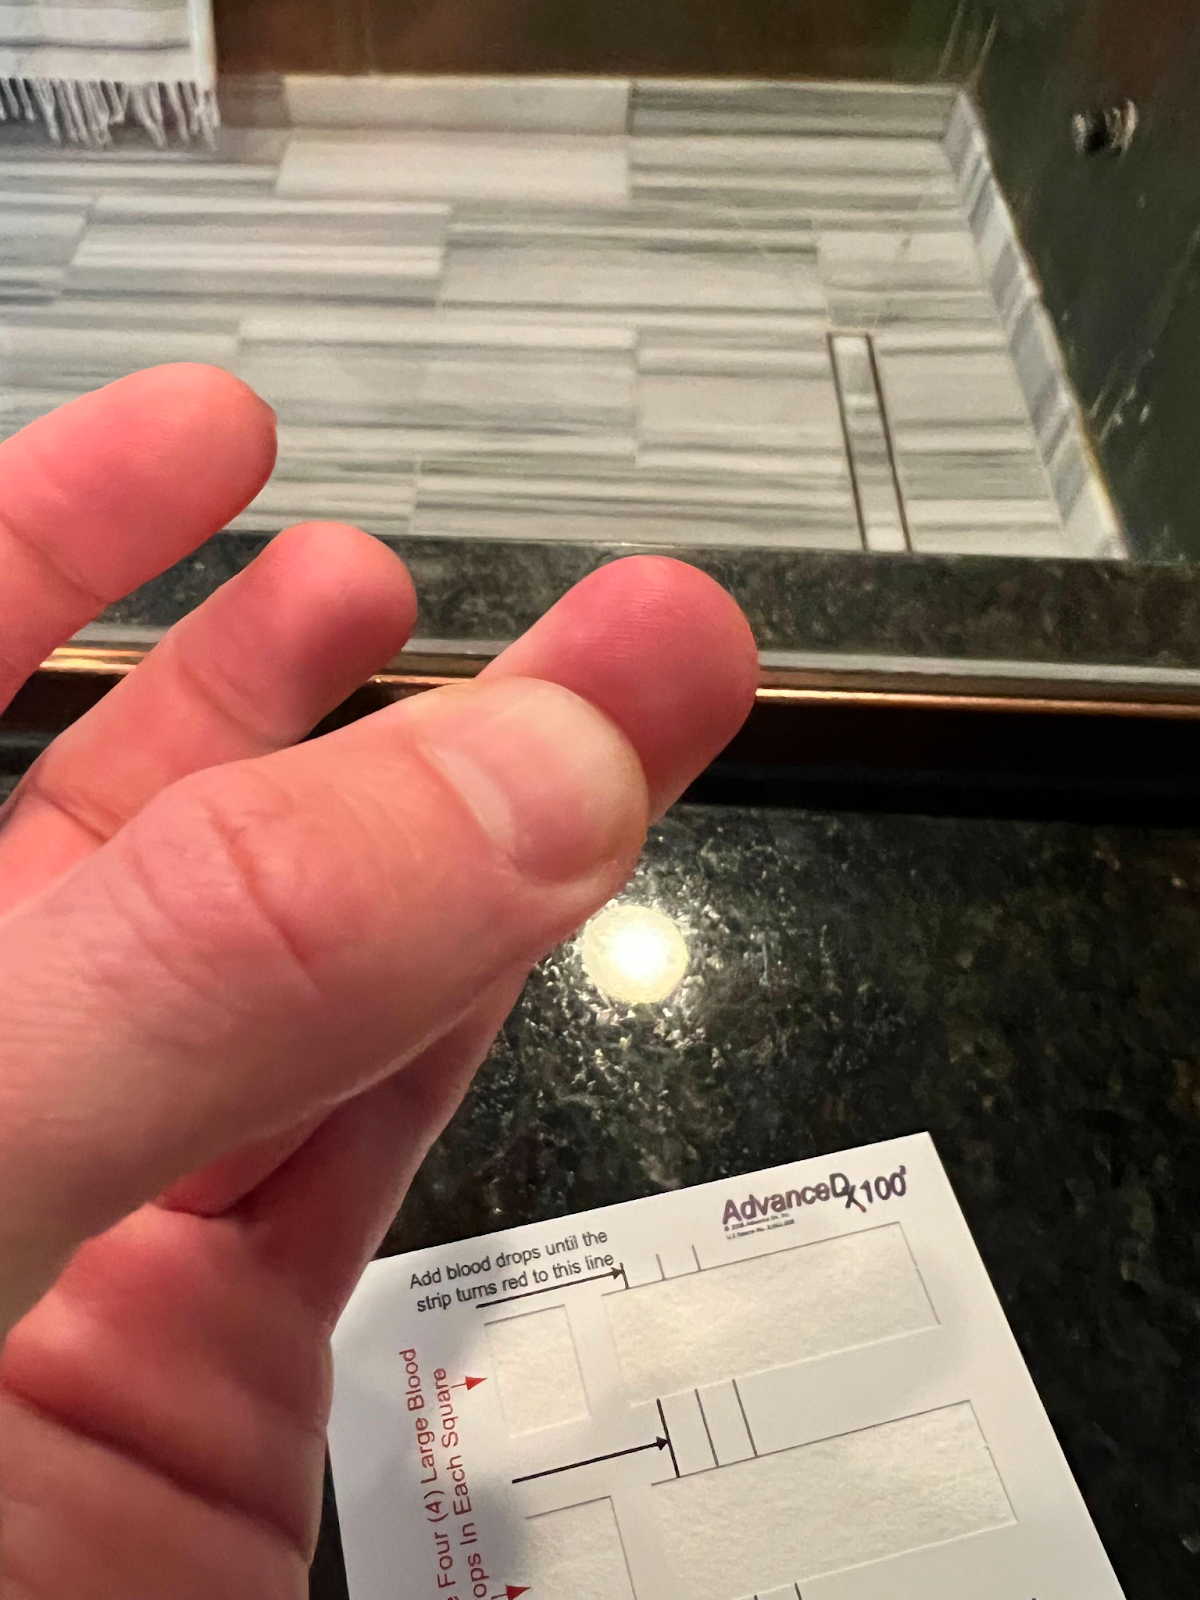
5. Prep to Poke
Plan to poke your non-dominant ring finger. Warm it up with hot water or the BODYSIM heat pack first. Use blue/deep lancets first time, but yellow/shallow if you have thin skin. Poke OFF-center to your finger pad, on the pinky-side (or the blood path is silly)
6. Poke Perfect
Bunch your to-be-poked finger pad up using your same-hand thumb–easier to pop a taught balloon right? Getting a good poke is the #1 determinate of success. Hydration + heat + milking (below) for flow is #2.
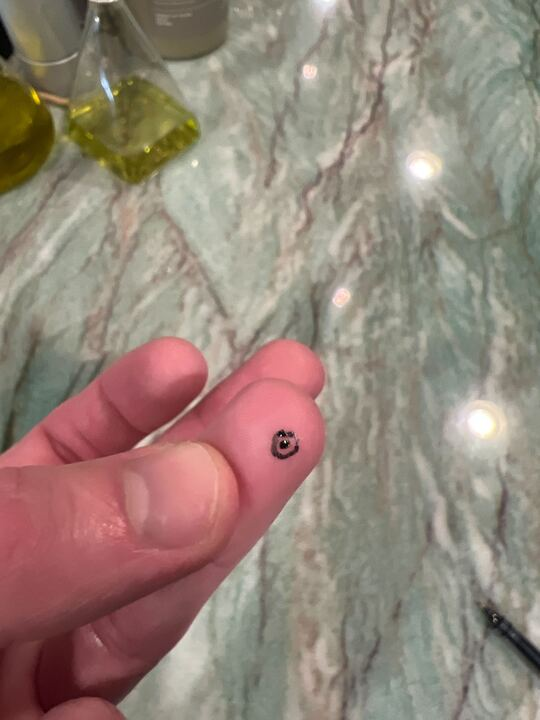
7. Discard Drop 1
After you alcohol swab and poke as above, don’t forget to discard the first drop on the gauze (it’s contaminated)
8. Milk It
Using your poked-hand thumb and other hand’s pointer finger and thumb, “milk” your finger down from your hand to the tip like a cow udder to coax each drop out. You can also try milking from the far side of your finger pad towards the puncture. Deposit 4 big drops per box (2 boxes male, 3 female)
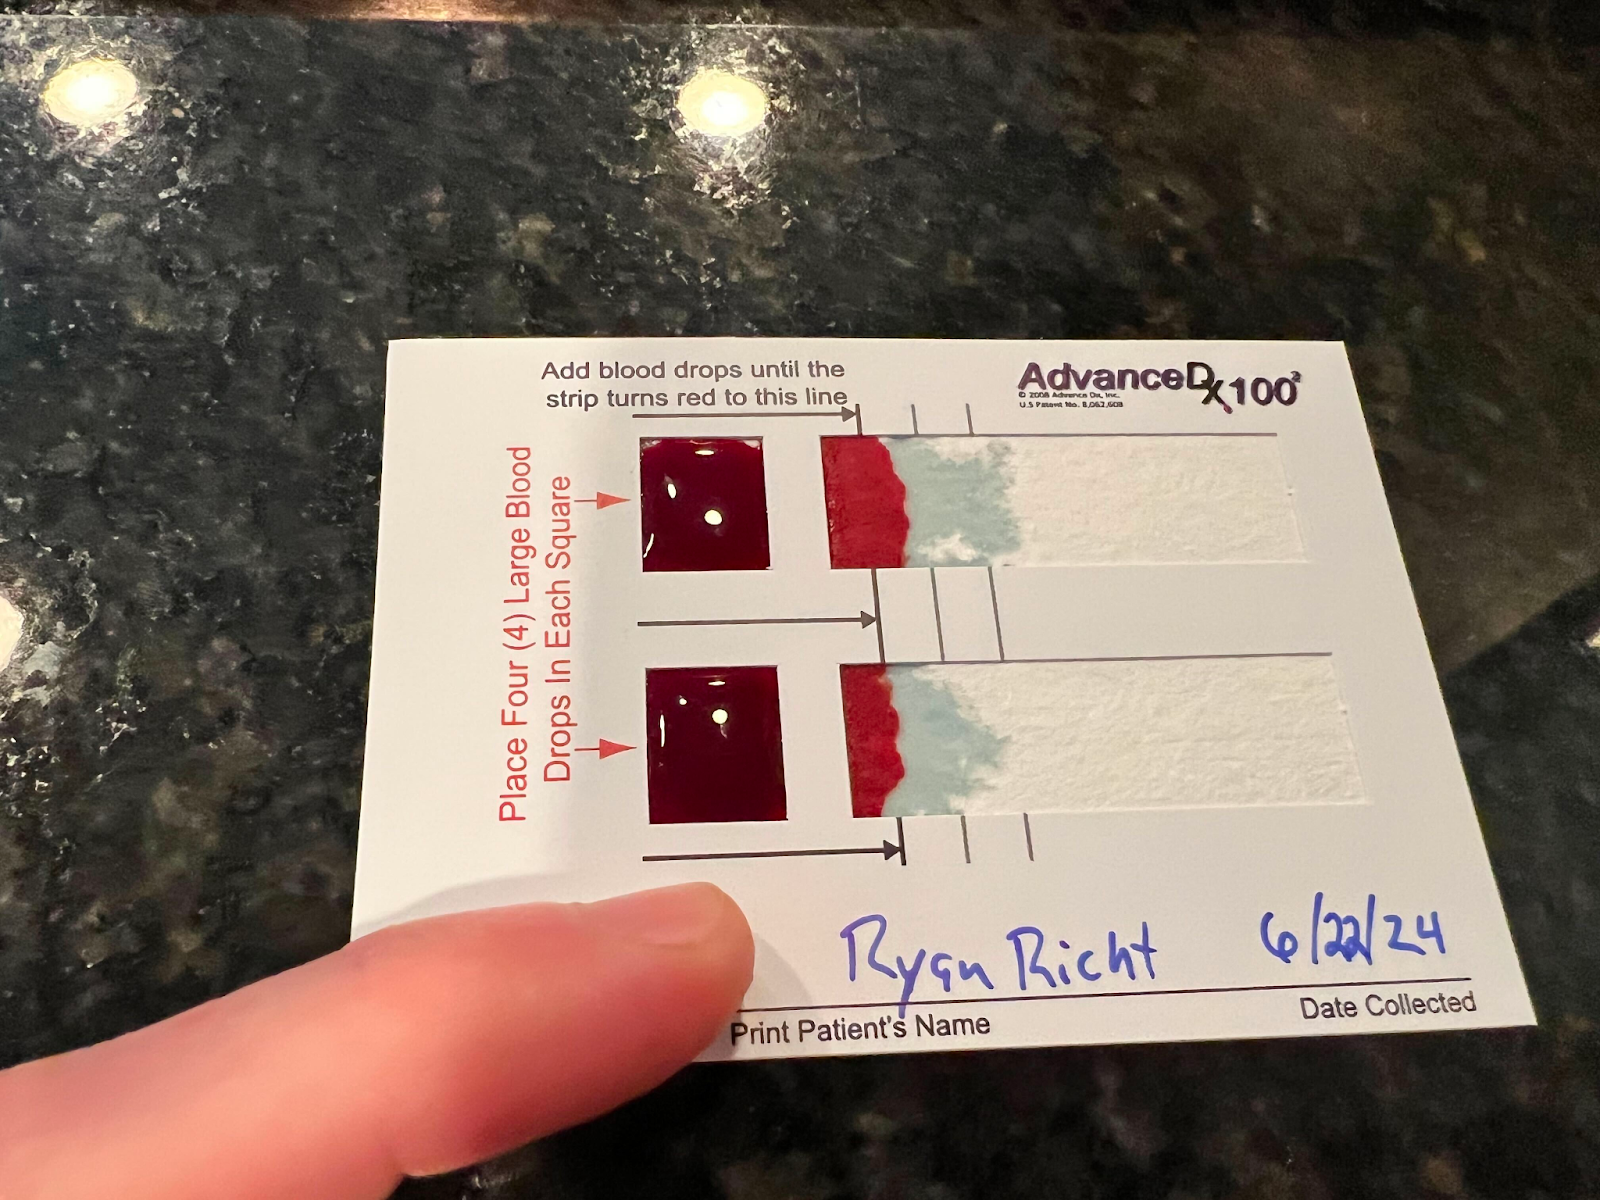
9. Dry and Return
Allow your card to completely dry for a couple hours. Seal your cards up in the foil pouch(s) (don’t remove the contents), seal the foil pouch in the mailer, and get it into the mail (USPS) within a day or two